Buttermilk Rusks
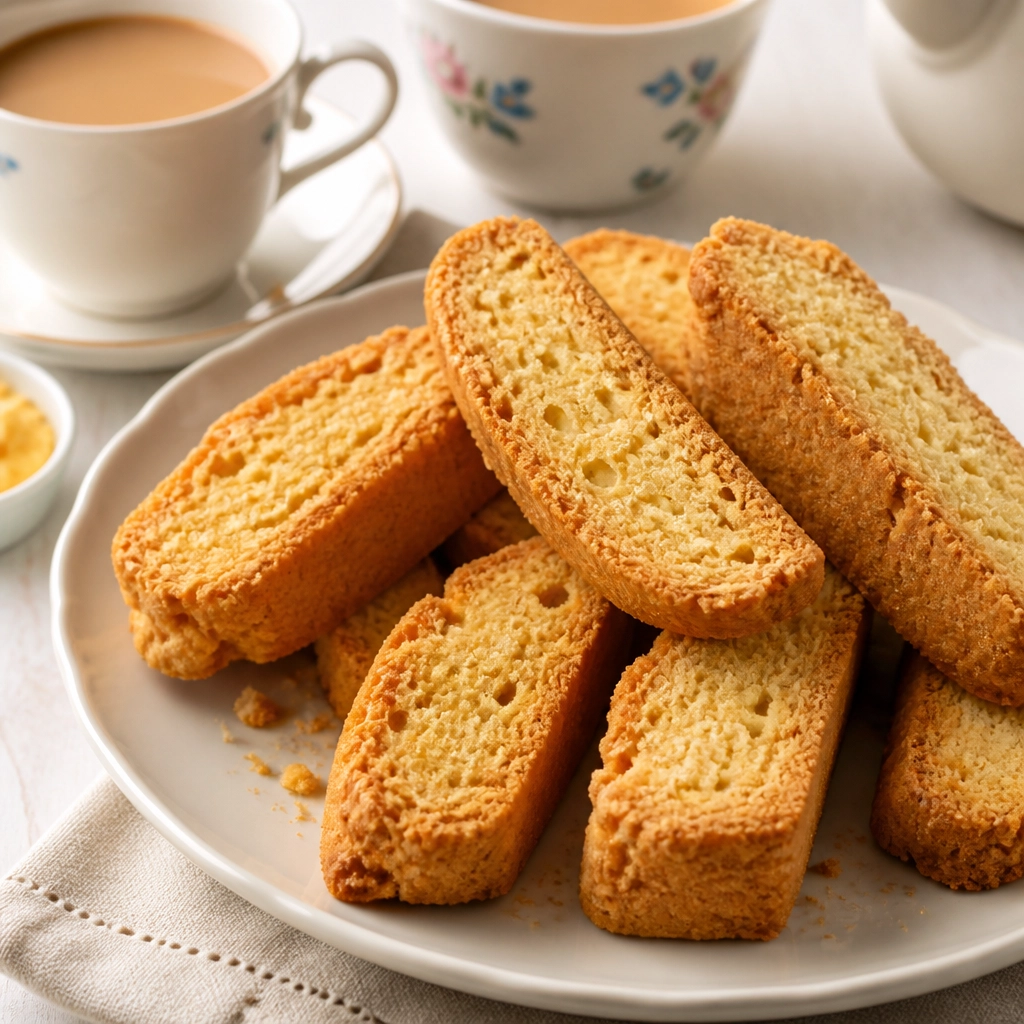
These buttermilk rusks are crisp, lightly sweet, and richly buttery, with a tender crumb that dries into the perfect dunking biscuit. The first bake gives them lift and softness, while the second bake creates their signature crunchy, golden finish.
Nutrition · per serving
Ingredients
8 itemsRusk dough
For the tin
Tips
- •For a more traditional texture, tear the baked dough into rustic chunks instead of cutting neat slices.
- •If you want a drier, longer-keeping rusk, add another 10-15 minutes to the second bake at 100-110°C.
- •These are lightly sweet; increase the sugar to 75 g if you prefer a more tea-biscuit style rusk.
- •Store fully cooled rusks airtight for up to 1 week.
Steps
- 1
Preheat the oven to 190°C conventional. Lightly grease a small loaf tin or 20 cm square tin. If your oven heats unevenly, place a tray in the middle rack position so the rusks bake evenly.
5 g unsalted butter - 2
In a mixing bowl, whisk together the plain flour, baking powder, fine salt, and caster sugar until evenly combined. This distributes the leavening well and helps the rusks rise uniformly.
250 g plain flour10 g baking powder2 g fine salt60 g caster sugar - 3
Add the cold unsalted butter and rub it into the flour mixture with your fingertips until it resembles coarse breadcrumbs with a few pea-sized bits remaining. Do not overwork it; those little butter pieces help create a tender, biscuit-like crumb.
60 g cold unsalted butter - 4
In a small bowl, beat the egg with the buttermilk. Pour this into the dry ingredients and mix gently with a fork or spatula just until a soft, slightly sticky dough forms. Stop as soon as no dry pockets remain, because overmixing can make the rusks tough.
1 large (50 g without shell) egg150 ml buttermilk - 5
Transfer the dough to the prepared tin and press it in evenly to about 3-4 cm thick. Bake for 22-25 minutes, until well risen, lightly golden on top, and a skewer inserted in the centre comes out clean.
- 6
Remove the tin from the oven and let the baked dough stand for 8 minutes, just until cool enough to handle. Turn it out, then cut or tear it into 8 thick finger-shaped rusks. A slightly rough torn edge dries especially well in the second bake.
- 7
Lower the oven to 110°C. Arrange the rusks cut-side up directly on the oven rack or on a lined tray with space between them. Dry-bake for 20 minutes, then turn them over and bake for 10 more minutes until dry to the touch and crisp at the edges. They should feel light and sound faintly hollow when tapped.
- 8
Switch off the oven, crack the door open, and leave the rusks inside for 5 minutes to drive off a little more moisture. Serve warm or cool completely before storing in an airtight container. They are best dunked into hot tea or coffee.
Origin & History
Rusks are deeply rooted in South African food culture and descend from older Dutch twice-baked breads designed to keep well on long journeys. Buttermilk rusks became a home-baking staple, especially on farms, where they were valued for their long shelf life and perfect pairing with tea or coffee.
Do even more with Gourmate
Cook this recipe in Gourmate — your AI meal planning app.
Plan Meals
Weekly planner at a tap
Ask Questions
Chat with your AI chef
Adjust Recipe
Scale servings & swap ingredients
Cook Mode
Step-by-step guidance
Kitchen Timers
Built-in timers & alerts
Grocery List
Auto-generated shopping lists